 Save to Pins
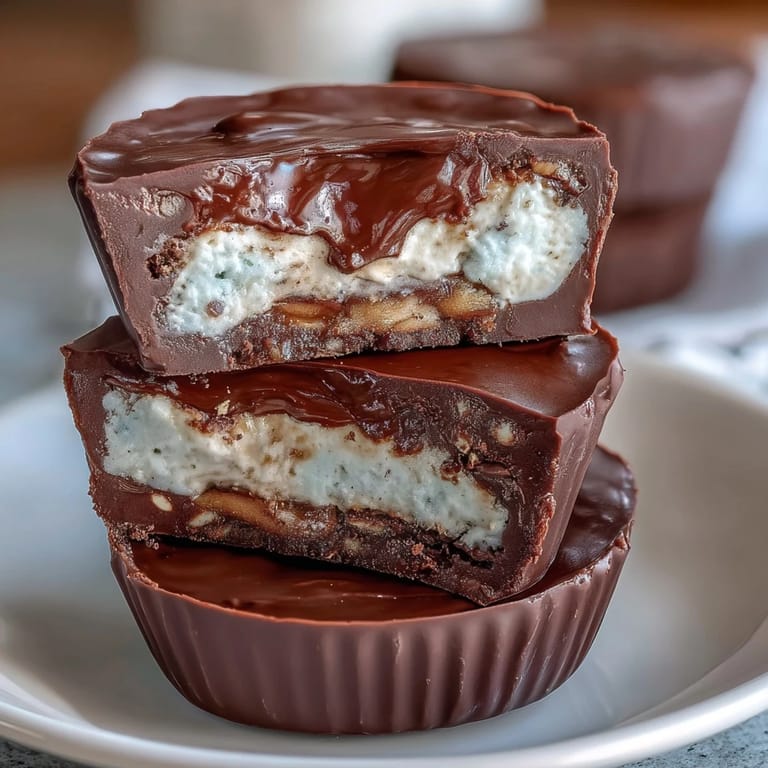
 Last summer, I was standing in my kitchen at 3 PM on a Tuesday, staring at a protein powder container and wondering why every healthy snack I'd tried tasted like cardboard. My friend Sarah had just mentioned she was craving chocolate, and that's when it clicked—what if I made something that actually tasted indulgent but packed a real nutritional punch? These peanut butter cups were born from that exact moment of frustration mixed with determination.
I made a batch for my book club, and watching these quiet, unassuming little cups get passed around only to hear people stop mid-conversation to ask for the recipe felt like winning something. One person literally said, 'Wait, this is HEALTHY?' with genuine surprise in her voice, and I realized I'd stumbled onto something special.
Ingredients
- Dark chocolate (200 g, 70% cocoa or higher), chopped: This percentage matters because it's bitter enough to balance the sweetness without being pretentious—lower cocoa percentages make these too candy-like and mask that sophisticated edge.
- Coconut oil (1 tbsp): It loosens the chocolate to a perfect coating consistency, and honestly, it adds an almost imperceptible richness that makes people ask what your secret is.
- Natural peanut butter (120 g): The kind with just peanuts and salt, nothing else—the oils keep everything creamy and prevent that gritty texture cheap brands give you.
- Honey or maple syrup (1 tbsp for peanut layer, 1 tbsp for filling): Real sweeteners dissolve better than granulated sugar and create a smoother texture throughout.
- Vanilla or unflavored whey protein powder (1 scoop, about 30 g): Vanilla works beautifully here, but unflavored lets the chocolate and peanut butter be the stars—choose based on what you want to emphasize.
- Thick Greek yogurt (180 g, full-fat or 2%): The thickness is crucial; watery yogurt will make your cups collapse, so strain it through cheesecloth for 30 minutes if yours seems too thin.
- Vanilla extract (1 tsp): This tiny amount lifts the Greek yogurt from sour to sophisticated, preventing that one-note tang.
- Salt (pinch): Never skip this—it's the difference between 'nice' and 'why does this taste so good?'
Tired of Takeout? 🥡
Get 10 meals you can make faster than delivery arrives. Seriously.
One email. No spam. Unsubscribe anytime.
Instructions
- Prepare your molds:
- Line your mini muffin tin with paper liners—this takes 90 seconds and saves you from chocolate-sticky fingers later. They'll pop right out when everything's set.
- Melt the chocolate gently:
- Use 30-second microwave bursts and stir between each one; chocolate seizes up fast, and lumpy chocolate ruins the whole vibe. You want it glossy and pourable, not grainy.
- Create the chocolate shell:
- Drop about a teaspoon of melted chocolate into each liner and use the back of a spoon to push it up the sides slightly, creating little cups. Freeze for exactly 10 minutes—longer and it gets too brittle.
- Mix the peanut butter layer:
- Stir peanut butter, protein powder, and honey together until completely smooth; any protein powder lumps will create weird grainy spots that'll stick between your teeth. Taste it and smile a little—this layer is basically a protein bar you actually want to eat.
- Blend the yogurt filling:
- Whisk Greek yogurt with honey, vanilla, and salt until creamy and uniform, breaking up any clumps so the filling sets smoothly. This becomes the surprise center that makes people go 'oh wow.'
- Layer with precision:
- Remove the tin from the freezer and gently press about a teaspoon of the peanut butter mixture onto each chocolate base, then add a teaspoon of the yogurt mixture on top. This is where patience pays off—rushing creates a sloppy mess.
- Seal it up:
- Spoon the remaining melted chocolate over the top of each cup, making sure the edges are completely covered so the filling stays sealed inside. You're creating little chocolate packages of goodness.
- Chill until firm:
- Pop the whole tin into the freezer for at least an hour; they need time to set completely so they hold their shape when you bite into them. Overnight is actually perfect if you're planning ahead.
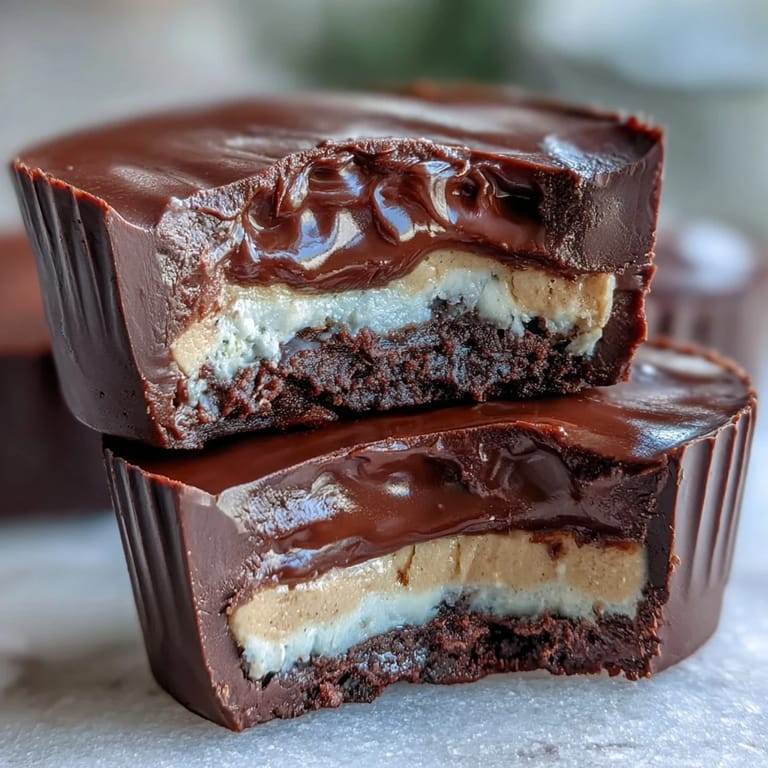 Save to Pins
 There's something almost meditative about standing in front of your open freezer, looking at these little chocolate cups and knowing they're full of actual nutrition disguised as decadence. It's the kind of snack you feel genuinely good about eating, which honestly matters more than most people admit.
Storage and Shelf Life
Keep these in an airtight container in your freezer for up to two weeks, though they rarely last that long in my house. You can also move them to the refrigerator 20 minutes before eating if you prefer them slightly softer, or eat them straight from the freezer if you like that satisfying crack when you bite through the chocolate shell.
Variations and Swaps
Almond butter works beautifully if you're avoiding peanuts, and sunflower seed butter is oddly magical if you want something completely different. For a lower-sugar version, swap the honey for stevia or monk fruit sweetener, though you might lose just a touch of that silky texture—the trade-off is worth it if that matters to you.
Why These Work as a Snack
Most protein snacks either taste like punishment or they're loaded with sugar masquerading as health food. These hit a genuinely rare sweet spot where the flavors complement each other instead of fighting, the macros make sense, and you're not eating something that tastes like it was designed in a lab. They're the kind of snack you can eat one of and feel satisfied, not deprived.
- Keep a container at work so you stop reaching for the vending machine at 3 PM when your energy crashes.
- Grab one before the gym if you need something quick that won't make you feel heavy or sluggish.
- These are the perfect 'I'm bringing something to the party' dessert because nobody suspects they're protein-packed until you tell them.
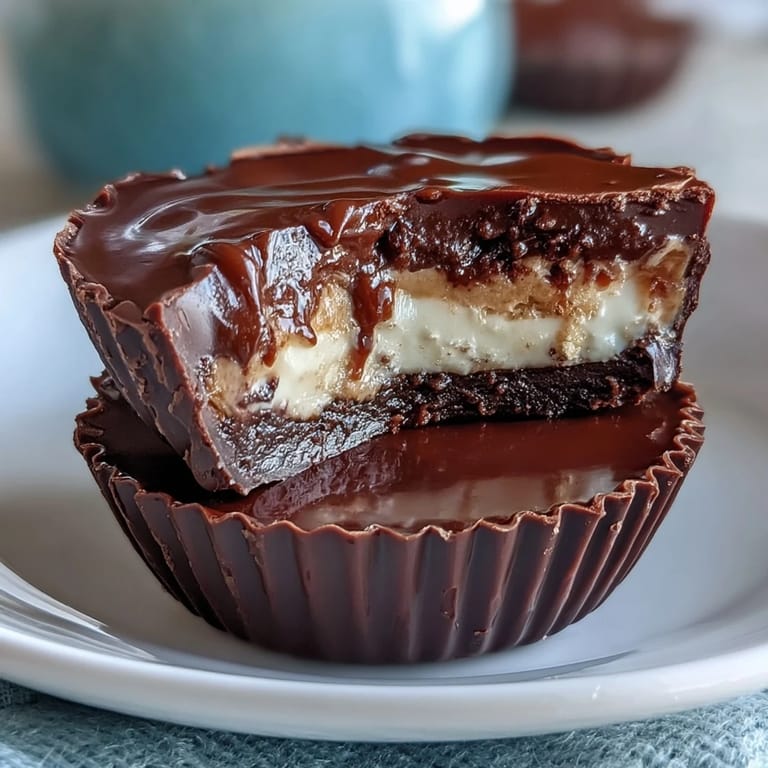 Save to Pins
 These little cups prove that eating well and enjoying your food aren't opposing forces—they're actually the same thing when you put in just a little thought. Make them once and you'll find yourself planning the next batch before these ones are even gone.
Questions & Answers
- → Can I use almond butter instead of peanut butter?
Yes, almond butter or sunflower seed butter can be used as a substitute to accommodate peanut allergies without compromising taste.
- → How do I prevent the chocolate from melting when assembling?
Freeze the chocolate layer before adding other layers to keep it firm and maintain distinct layers during assembly.
- → What type of protein powder works best?
Vanilla or unflavored whey protein powder blends smoothly in the peanut butter layer and enhances protein content without affecting flavor.
- → Can I make these vegan?
Replacing Greek yogurt with a plant-based alternative and using a vegan protein powder and sweeteners can adapt this treat for a vegan diet.
- → How long should I chill the cups before serving?
Chill in the freezer for at least one hour or until firm to ensure the layers set properly for best texture.