 Save to Pins
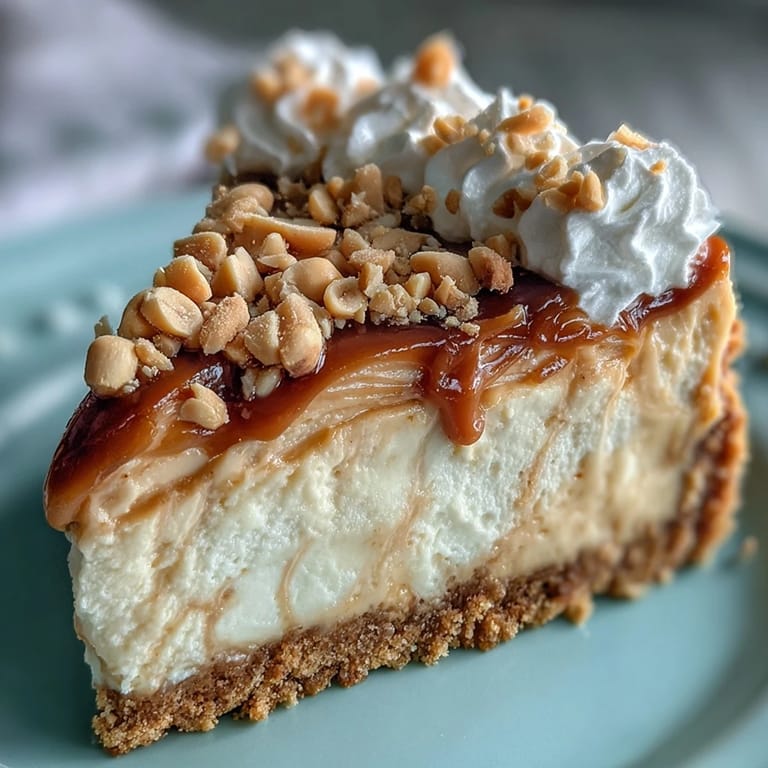
 My neighbor slid a foil-wrapped slice under my door with a note that just said try this. It was dense, sweet, and unmistakably peanut butter forward in a way that made me laugh out loud. When I asked her what it was, she shrugged and said she'd emptied a sleeve of Nutter Butters into a springform pan and hoped for the best. That weekend, I made my own version, and it's been my go-to for birthdays ever since.
I brought this to a potluck once and watched three people go back for seconds before the main course was even cleared. One of them asked if I'd studied pastry in Paris, which made me laugh because I'd been stress-eating Nutter Butters the night before and thought, why not bake with them? Sometimes the best recipes start with a pantry situation and a hunch.
Ingredients
- Nutter Butter cookies: The backbone of the crust and the nostalgic hook, their peanut butter filling adds extra flavor without any extra work.
- Unsalted butter: Melted and mixed with the crushed cookies, it binds everything into a sturdy base that won't crumble when you slice.
- Cream cheese: Must be softened fully or you'll end up with lumps no amount of mixing will fix, learned that the hard way.
- Granulated sugar: Sweetens the filling without overpowering the peanut butter, and helps create that smooth, creamy texture.
- Vanilla extract: A small splash that rounds out the flavors and keeps the peanut butter from feeling one note.
- Eggs: They set the cheesecake and give it structure, but over-mixing them creates cracks, so go gently.
- Creamy peanut butter: The star of the show, folded in just enough to swirl through every slice without making the filling too dense.
- Heavy whipping cream: Whipped with powdered sugar into soft clouds that sit on top like a sweet, airy cushion.
- Powdered sugar: Sweetens the whipped cream without any graininess, and it whips up faster than granulated ever would.
- Chopped peanuts: Optional but worth it for the crunch and the visual contrast against all that creamy white.
Tired of Takeout? 🥡
Get 10 meals you can make faster than delivery arrives. Seriously.
One email. No spam. Unsubscribe anytime.
Instructions
- Prep the pan:
- Preheat your oven to 325°F and grease a 9-inch springform pan, then line the bottom with parchment paper. This step saves you from heartbreak later when you try to release the cheesecake.
- Make the crust:
- Crush the Nutter Butters until they're fine crumbs, then stir in melted butter until the mixture looks like wet sand. Press it firmly into the pan bottom and bake for 10 minutes until it smells toasty.
- Beat the base:
- In a large bowl, beat softened cream cheese and sugar together on medium speed until it's silky and light, about 2 to 3 minutes. Scrape down the sides so nothing gets left behind.
- Fold in the flavor:
- Add vanilla and peanut butter, mixing just until smooth and evenly swirled. Don't rush this, the peanut butter needs time to blend without clumping.
- Add the eggs:
- Crack them in one at a time, beating on low and stopping as soon as each one disappears into the batter. Over-mixing here invites cracks and a dense texture.
- Pour and smooth:
- Spread the filling over the cooled crust and smooth the top with a spatula. Tap the pan gently on the counter to release any air bubbles.
- Bake low and slow:
- Slide it into the oven for 50 to 60 minutes, until the edges are set but the center still has a slight jiggle. It will firm up as it cools, so don't wait for it to look fully done.
- Cool in the oven:
- Turn off the heat, crack the oven door, and let the cheesecake sit inside for an hour. This gradual cooldown prevents that dreaded crack down the middle.
- Chill completely:
- Transfer to the fridge and let it rest for at least 4 hours, though overnight is better. Patience here pays off in clean slices and deep flavor.
- Whip the topping:
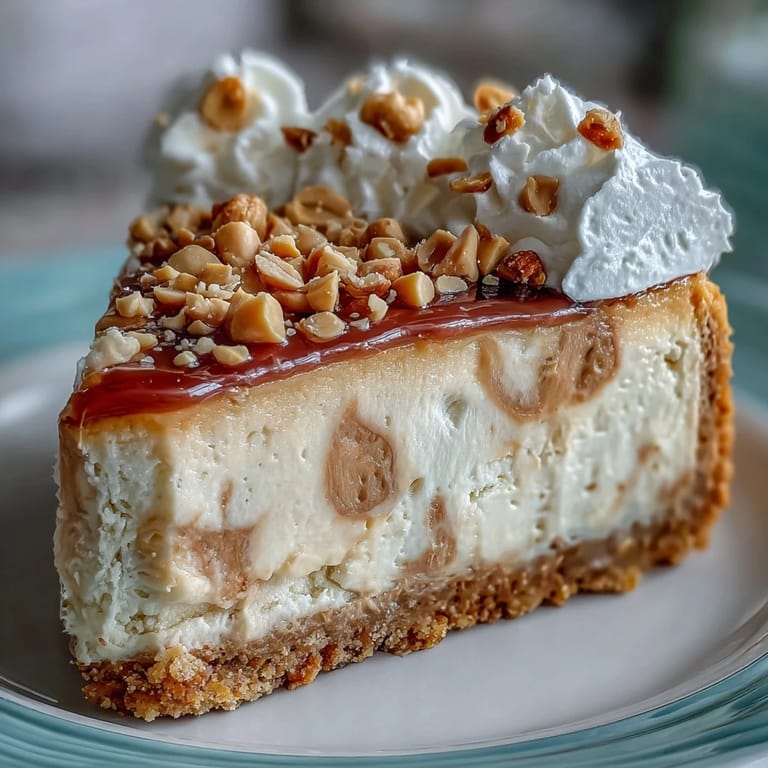
- Beat heavy cream and powdered sugar until stiff peaks form, then spread it over the chilled cheesecake. It should hold its shape and look like soft clouds.
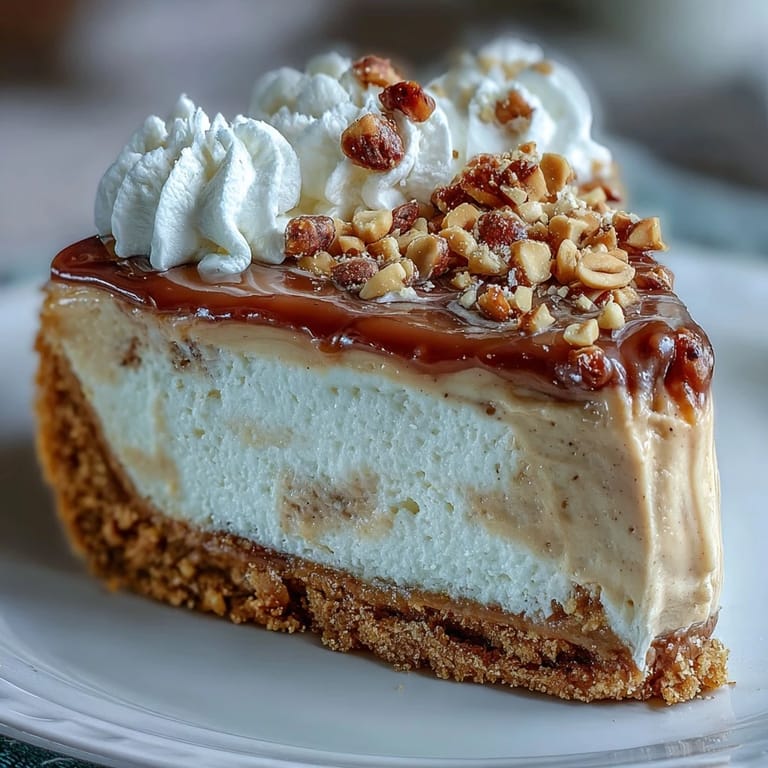
- Garnish and serve:
- Sprinkle chopped peanuts on top and tuck a few whole Nutter Butters around the edge. Slice with a warm, clean knife for the neatest cuts.
 Save to Pins
 The first time I served this at a family dinner, my uncle asked if I'd made it from scratch or bought it from a bakery. When I told him it started with a box of cookies, he laughed and said that was the kind of genius he could get behind. It's been requested at every gathering since, and I've stopped pretending it's any trouble to make.
How to Store Leftovers
Cover the cheesecake tightly with plastic wrap or store it in an airtight container in the fridge for up to five days. The crust stays surprisingly crisp, and the flavors actually deepen after a day or two. If you want to freeze it, wrap individual slices in plastic wrap and then foil, and they'll keep for up to two months.
What to Serve Alongside
This cheesecake is rich enough to stand on its own, but a drizzle of warm chocolate or salted caramel sauce takes it over the top. I've also served it with fresh strawberries or a small cup of strong coffee to cut through the sweetness. It's the kind of dessert that makes people linger at the table, so plan accordingly.
Common Questions
People always ask if they can substitute crunchy peanut butter, and the answer is yes, though the texture will be slightly less smooth. Some have tried using a different cookie for the crust, but Nutter Butters really are the secret to that nostalgic flavor. If you don't have a springform pan, a regular cake pan works, but you'll need to line it well and lift the whole thing out with parchment.
- Let the cheesecake come to room temperature for about 15 minutes before slicing for the cleanest cuts.
- Wipe your knife between slices and rinse it under hot water for bakery-level presentation.
- Leftover whipped cream can be piped onto individual slices right before serving if you're feeling fancy.
 Save to Pins
 This cheesecake has a way of turning a regular Tuesday into something worth celebrating. Every time I pull it from the fridge, I'm reminded that the best desserts don't need to be complicated, they just need to taste like joy.
Questions & Answers
- → Can I make this cheesecake ahead of time?
Yes, this cheesecake actually tastes better when made a day ahead. The flavors deepen and meld together beautifully. Store it covered in the refrigerator for up to 3 days before serving.
- → How do I prevent cracks in my cheesecake?
To minimize cracking, avoid over-mixing the batter after adding eggs, allow the cheesecake to cool gradually in the oven with the door cracked, and consider using a water bath during baking for extra moisture.
- → Can I use crunchy peanut butter instead of creamy?
While creamy peanut butter creates a smoother texture, you can use crunchy peanut butter for added texture. Just be aware it may affect the silky consistency of the filling slightly.
- → What can I substitute for Nutter Butter cookies?
You can use graham crackers mixed with 2-3 tablespoons of peanut butter, or vanilla wafer cookies combined with peanut butter for a similar flavor profile in the crust.
- → How do I know when the cheesecake is done baking?
The cheesecake is ready when the edges are set and slightly puffed, but the center still has a slight jiggle when you gently shake the pan. It will continue to set as it cools.
- → Can I freeze this cheesecake?
Yes, you can freeze the cheesecake without the whipped cream topping for up to 2 months. Wrap it tightly in plastic wrap and aluminum foil. Thaw overnight in the refrigerator before adding whipped cream and serving.