 Save to Pins
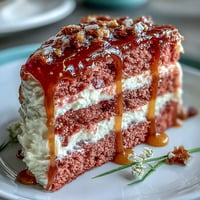
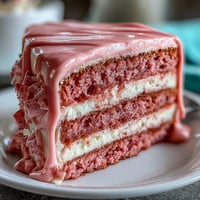
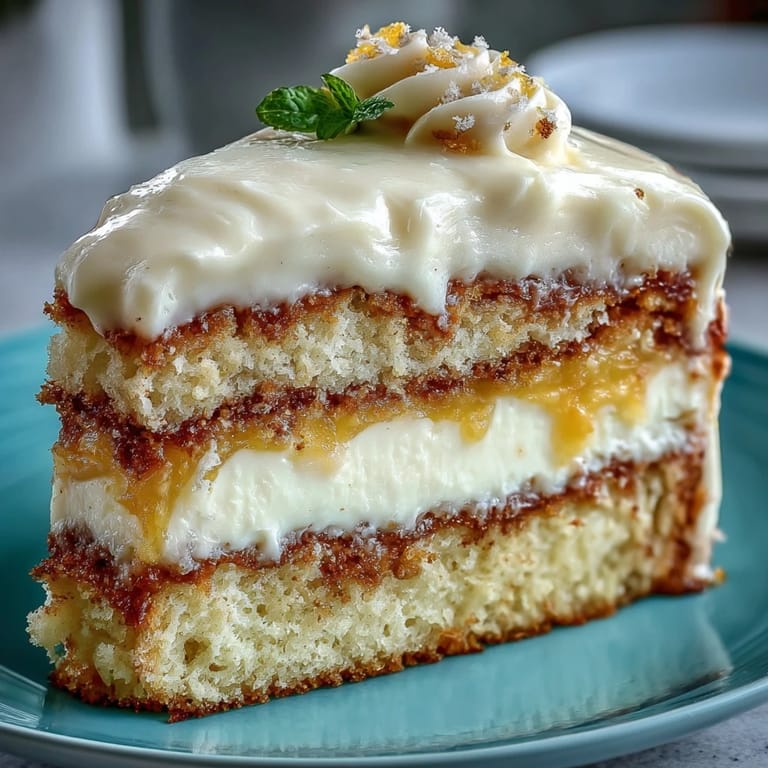
 The first time I saw a marbled cake, it felt like a piece of art. I was at a friend’s birthday party, and that cake stole the show with its golden and snowy swirls. I couldn’t resist asking for the recipe, and now, years later, I still find joy in recreating it. Each time I mix the colors, I feel like a painter at work, bringing the whimsical design to life. This Gemini Cake has become a staple for celebrating special moments.
One of my fondest memories was making this for my sister’s wedding shower. I remember nervously assembling the layers, and when I finally cut into it, everyone gasped at the beautiful marbling. The compliments flowed like champagne, and it felt amazing to share that joy. It wasn’t just a cake; it was a centerpiece of love, laughs, and cherished moments.
Ingredients
- All-purpose flour: This is the base for our cake; it’s essential for achieving that perfect texture.
- Baking powder: A must for helping our cake rise and stay fluffy.
- Unsalted butter: Using unsalted allows better control over the cake's flavor, enhancing its richness.
- Granulated sugar: This sweetener not only adds sweetness but also contributes to the cake’s texture.
- Eggs: They bind the ingredients together, making our cake moist and tender.
- Vanilla extract: This adds a lovely aromatic depth to the flavor profile.
- Whole milk: Room temperature milk keeps the batter smooth and evenly mixed.
- Instant vanilla pudding powder: Although optional, this ingredient ensures an extra touch of moisture.
- Yellow gel food coloring: Just a bit brings that vibrant marbled effect to life!
Tired of Takeout? 🥡
Get 10 meals you can make faster than delivery arrives. Seriously.
One email. No spam. Unsubscribe anytime.
Instructions
- Prepping the pans:
- Preheat your oven to 350°F (175°C) and line your cake pans with parchment. This step is crucial to ensure your cakes come out without a hitch.
- Mixing the dry ingredients:
- Whisk together flour, baking powder, and salt in a medium bowl. This helps distribute the leavening agents evenly throughout the batter.
- Creating the cake batter:
- In a larger bowl, beat the softened butter and sugar until fluffy. The airy mixture will provide the lift we need!
- Adding eggs and vanilla:
- Add the eggs, one at a time, beating well after each addition, then mix in the aromatic vanilla extract. This builds the foundation of flavor in your cake.
- Combining wet and dry:
- Alternate adding the flour mixture and milk, starting and ending with flour, mixing until just combined. Avoid overmixing; we want to keep that cake tender!
- Coloring the batter:
- Divide the batter into two bowls; tint one with yellow gel food coloring to create that marbled effect. You can go wild here with the intensity of the color!
- Pouring it in:
- Dollop the batters into the prepared pans alternating between colors, then gently swirl to marble. This is where the magic happens, creating lovely patterns.
- Baking:
- Bake for 30–35 minutes until a toothpick comes out clean. The smell wafting through your kitchen will have everyone eagerly waiting!
- Cooling:
- Let the cakes cool in their pans for 10 minutes before transferring them to a rack to cool completely. Patience is key here to avoid a cake collapse.
- Making the frosting:
- Beat the room temperature butter until smooth, then gradually add powdered sugar. This creates a dreamy, creamy base for frosting.
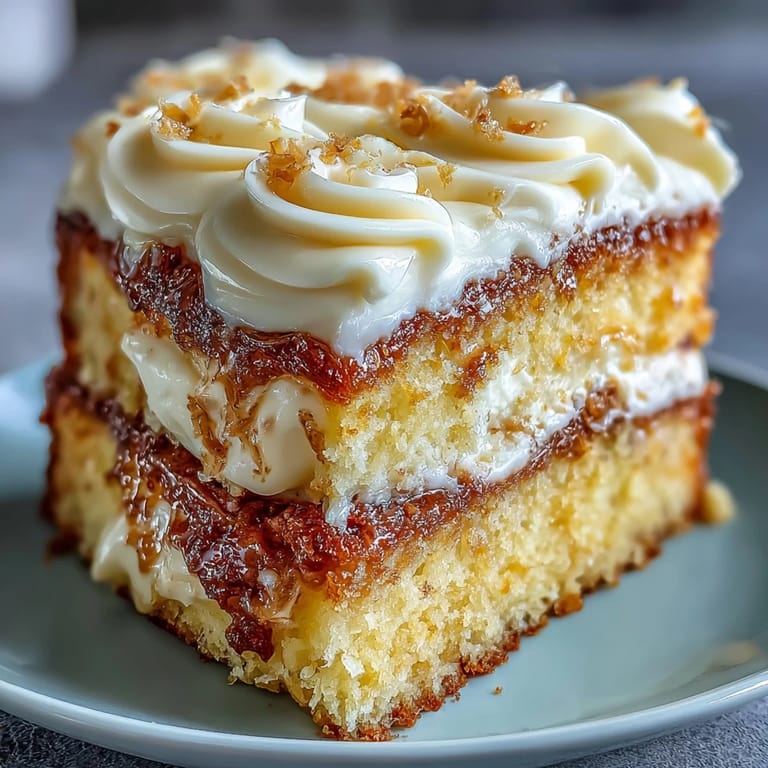
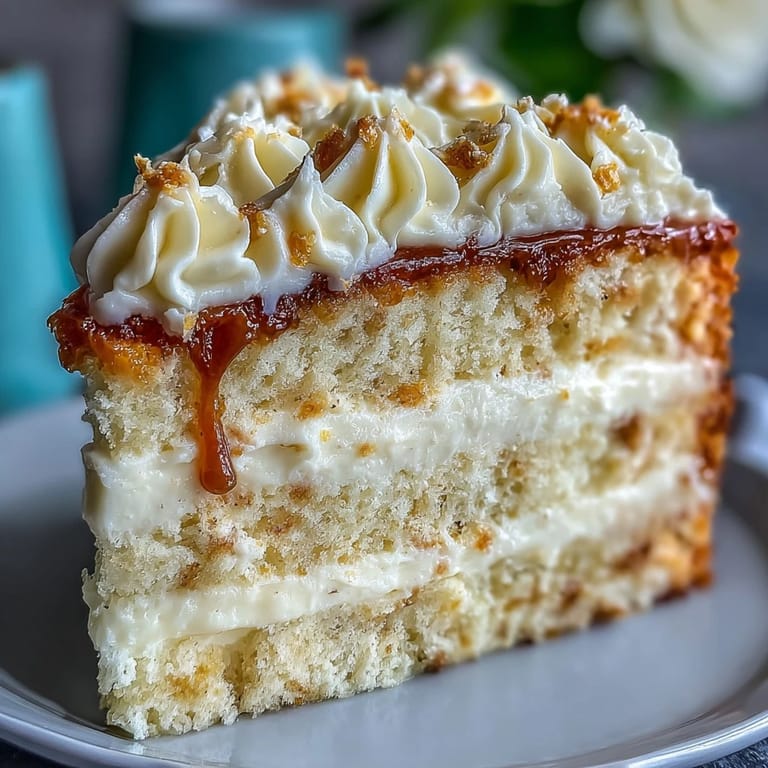
- Assembling the cake:
- Level the cakes if needed, frost between layers, and finish with the top layer. The final coating ensures a professional-looking finish!
 Save to Pins
 This cake holds a special place in my heart, as it symbolizes more than just deliciousness. It marks a celebration of life’s moments, reminding me that cooking can weave memories that last a lifetime.
Baking with Kids
This cake is a fantastic project if you have little chefs wanting to help out. They’ll love swirling the batters and watching the colors mix, creating their own masterpieces.
Making Ahead Tips
This cake can be made ahead of time and stored in the fridge, making it perfect for busy days. Just be sure to wrap it well so it stays fresh!
Decorating Inspiration
Feel free to get creative with your decorations! A sprinkle of edible glitter or fresh flowers can elevate the presentation.
- Remember that simple can be elegant too!
- Try using seasonal fruits for a fresh twist.
- Always have fun while decorating; it makes the cake even more special!
 Save to Pins
 Embrace the joy of baking this Gemini Cake, and watch as it brings smiles to your loved ones. Every slice serves a story waiting to be shared!
Questions & Answers
- → What is a Gemini Cake?
A Gemini Cake is a visually striking dessert featuring marbled layers of yellow and white sponge, perfect for festive occasions.
- → How do I achieve the marbled effect?
To create the marbled effect, alternate dollops of yellow and white batter in the cake pans and swirl gently with a skewer.
- → Can I use different colors for the cake?
Absolutely! You can customize the cake with any gel food coloring of your choice to match your celebration theme.
- → What flavors pair well with this cake?
This cake pairs beautifully with lemon curd, fruit preserves, or even a light sparkling wine, enhancing its delightful flavors.
- → Is this cake suitable for vegetarians?
Yes, this cake is vegetarian-friendly as it does not contain any meat or meat-derived ingredients.